Wednesday, January 16, 2008

More Power (Strips) Arrr Arrr Arrr

Just grabbed a SMARTStrip at Menards for $19.99.
It doesn't say BITS LIMITED on it, but it looks right.
I also have a MiniMinder USB Switch to try out.

Friday, December 01, 2006

The new desktop arcade controller is almost done.
I designed it after the Pelican Real Arcade controller. Similar shape, but scaled up. It is made of Oak Plywood on top, and a poplar box with 1/4" MDF bottom. The Joysticks and buttons are all reclaimed parts that were doomed to the dumpster and cleaned up. The encoder for this project ist he GPWiz gamepad encoder from Groovy Game Gear.

I'll be working on a review for Retroblast after assemply and testing.
I have two new reviews published over at RetroBlast!

T-Shirts
http://www.retroblast.com/reviews/RetroGaming_T-Shirts-11292006-02.html

GameEx Front-End/Home Theater System
http://www.retroblast.com/reviews/GameEx_FrontEnd-11292006-02.html

Thursday, September 21, 2006

COIN Button


Here is a pic of my new COIN Button. Very low-tech, I Gorilla Glued a Quarter to my regular green credit button.

This one is going into a desktop controller I am designing. More on that one to come.

Wednesday, August 23, 2006

TopGun Q & A

My Arcade Rig's Monitor/TV screen Angle is about 75 degrees of back tilt with the LED light stands for the LCD TopGun on the same angle as the monitor. I have found that it tracks best from where you calibrate the gun. So if you stand back 7 feet from the screen and calibrate, and then you try to use that gun at 5 feet back, it doesn't seem to track as well.

Here is a little Pic of the TV:

Monday, August 21, 2006

Check out my review of the LCD TopGun over at RetroBlast!

http://www.retroblast.com/reviews/LCDTOPGUN-08202006-01.html

Friday, August 18, 2006


New VH5150 Inspired Arcade Cab Makeover


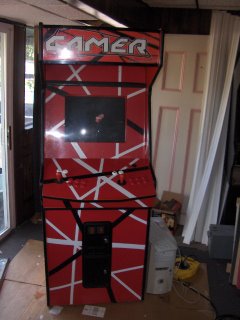
My nephew Kollyn, and Brother-in-law, Brian had a terrific time on their vacation breathing new life into an old arcade cabinet.

I have been into the home arcade hobby for a couple of years now, and I wanted to pass along some retrogaming good cheer to my nephew and his family. They had never done an arcade project, but both his parents are former Navy ETs and his dad is an Engineer at Boeng, so they know their way around wires and circuit boards!

The cab was red and Kollyn and Brian striped it with electrical tape. The logo is inspired by the Kramer Logo, and is especially close to our hearts as the logo on the neck of the legendary 5150 guitar by Eddie Van Halen.

Christened, "GAMER Arcade" on August 5, 2006. Brian, Kollyn and I are all guitar players, and love games, so a marriage of the two was inevitable.

The cab was originally purchased in Oshawa, ON., at a junk yard--er, Salvage Facility, and I brought it with me to Jersey when we moved last summer. The game was a working Mortal Kombat machine, from which we removed all the boards, controls, power and monitor.

Brian and Kollyn did an awesome job of ripping everything out and cleaning up the cab. When I got it, it had been sitting under a tarp in the weather for weeks, and it was already starting to swell at the bottom, the T-Molding was come up the first 3-4 inches, but it still looks good, and the red was not bubbling.

They decided to use the red back panel to create a new control surface with enough room for a spinner and trackball down the road. We had just enough red from the back and the control hole cut into the bottom back to make the new panel.


Kollyn did all the wiring himself, along with some expert advise from Dad, and Uncle.

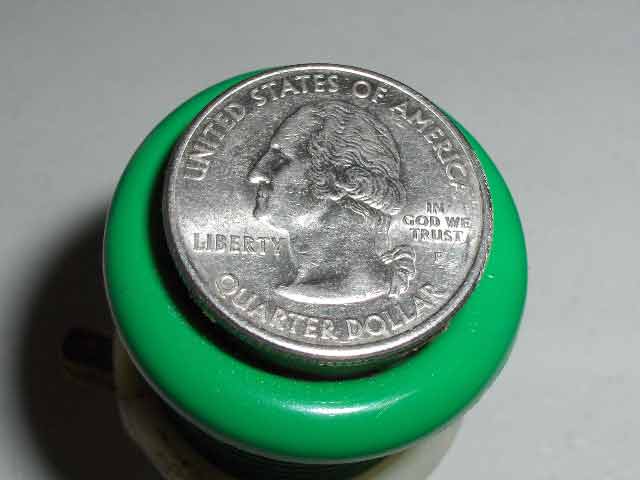
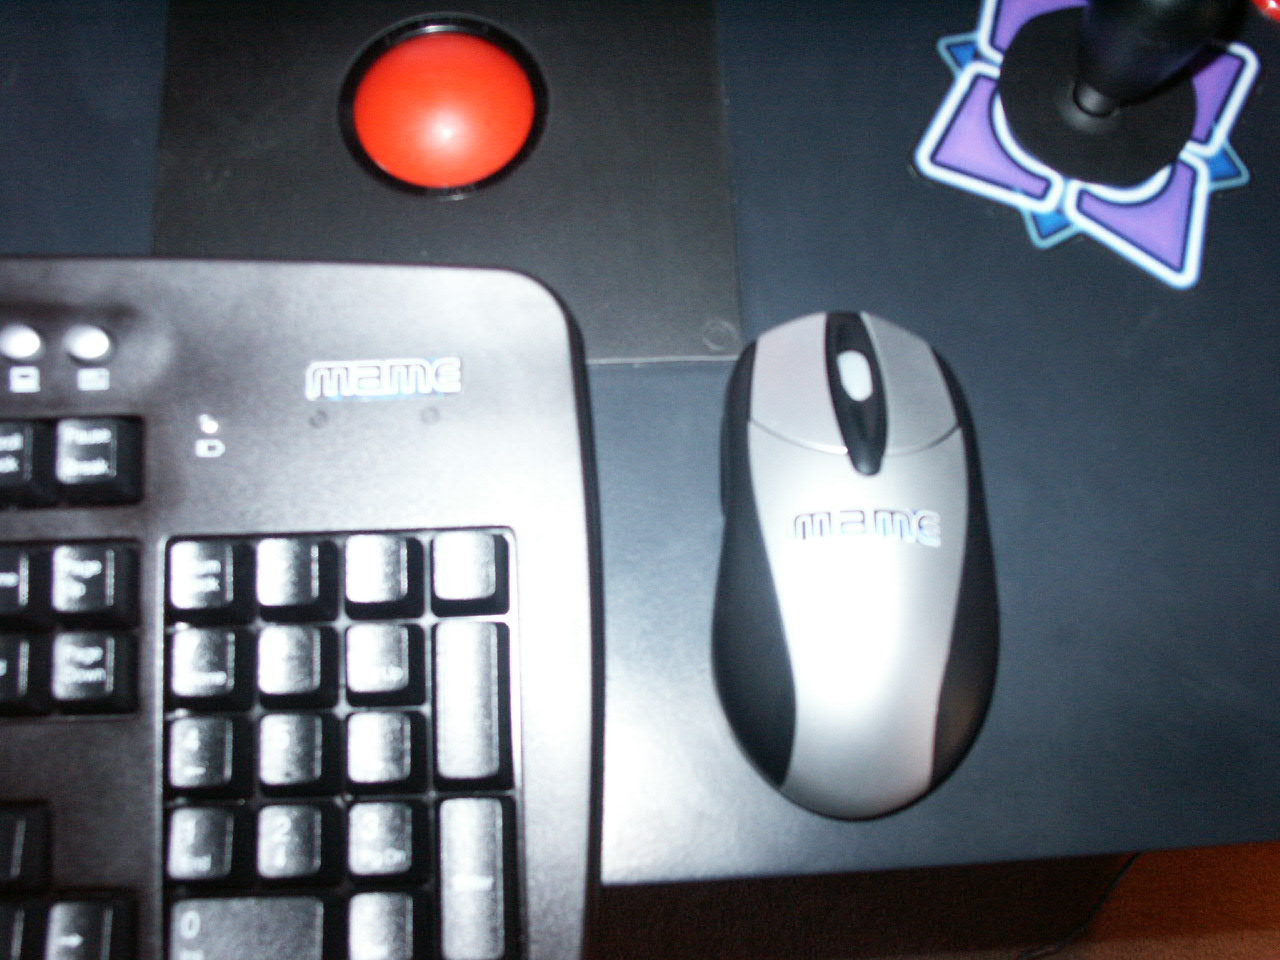
We used a GroovyGameGear GPWiz game pad encoder and Joy2Key to generate the keypresses for MAME.

Everything works on the cab, coin door, everything.

We even loaded up some classic Halen to put 'er through her paces.


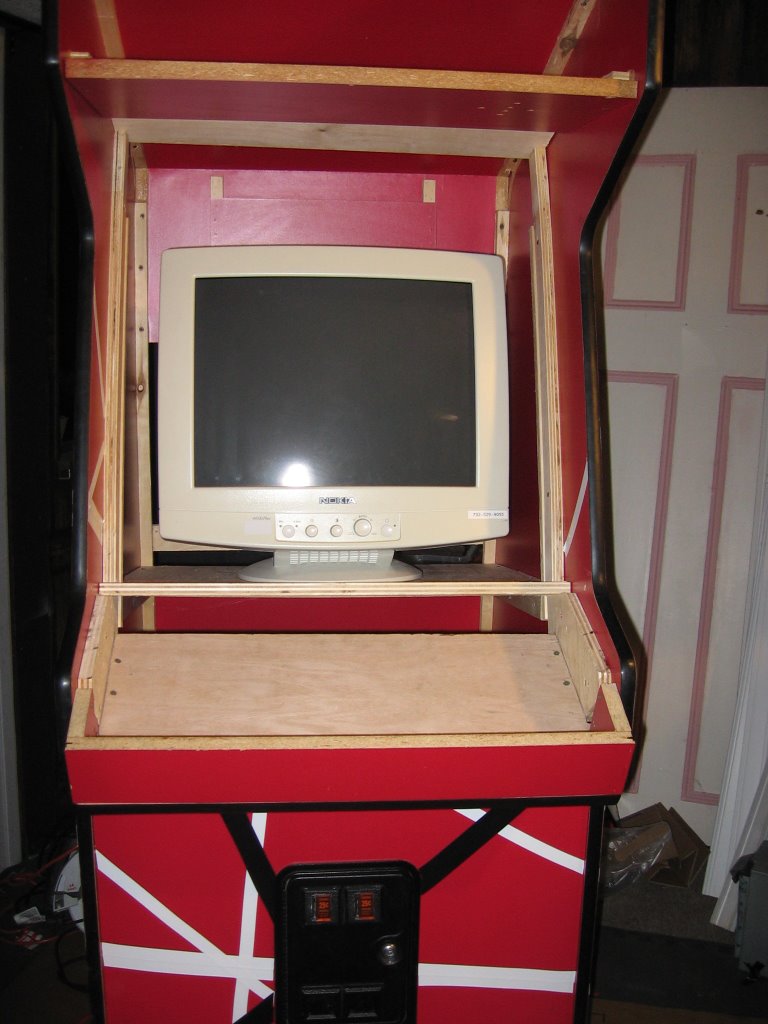
The reworked control panel was an interesting piece of retro-engineering. The original cabinet had a sliding shelf that attached to the control panel, and was the mounting surface for the motherboard and video board and power supply. We repurposed that board for a new monitor shelf, using 1x2's as shelf supports.

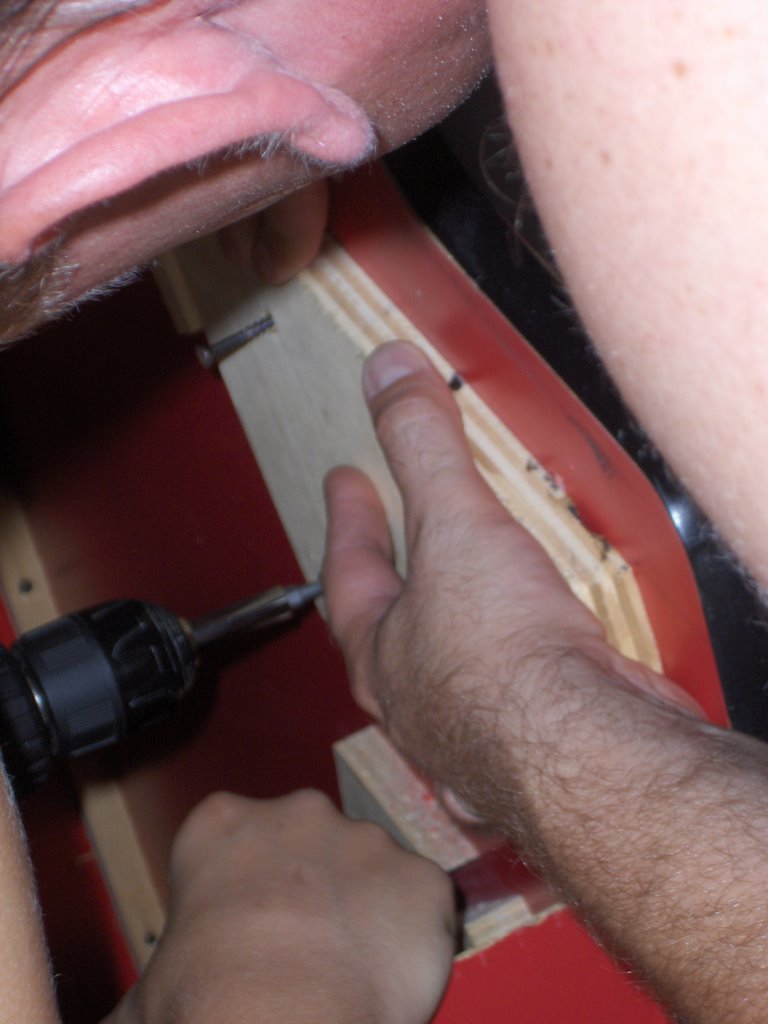
Brian then built a control panel floor with a piece of oak ply and adjusted the angle of the support blocks to accomodate the new control panel angle. We routed the bottom, side pieces and top for black T-Molding and installed it. 1/16th slot cutting bit from Lowes was $14! The Tmolding is so incredible, it makes it look so professional.


We also loved the way the black molding went perfectly with the red, black, white stripe motif.

Here is a close up of the CP top and bottom:


Tuesday, June 13, 2006

Constuction Pics

Control Panel Guts

Ultimarc MiniPac with Trackball, Joysticks & Buttons, Oh My!


My Buddy Gizz being very precise. This is one side of the cabinet.
Gizz is marking up by the area where the game marquee will eventually be.

We opted to build the sides first and then decide how wide to go--we even talked about making the cab narrower at the back to accomodate the Game Screen, but the geometry got frustrating and we were kind of wary of making it front heavy, so we left it according to LuSid's design.

We did scale up the design a little to make the top a little taller than 6 feet with 2" casters--metal, too small, too expensive, and dummy (me) bought two swivel & two straight rollers and put them on the machine so that it won't go anywhere smoothly.


Below:
Close-up of the top of the right side. The cleats were amazing. We made a jig which put the cleats exactly the distance away from the edge to match perfectly with MDF Panels it would receive.

Here you can see the cleats for the Top panel, the speaker angled shelf and the top back 45degree angle cleat.


Controll Panel

MiniPac
Ultimarc Trackball with mounting plate
Two Players, 6 Button Fighter Array
Two Mouse Buttons
Green Credit Buttons
P1 & P2 Starts
Admin Buttons


Added later Oscar V2 Spinner


Below:
Right side panel with scrap for mock up of width.
Actually kind of an overly cautious move, but it ended up working ok.

I decided to go on the cheap and recycle an old TV for the screen, around the house I had a 24", a 19", but I really wanted to put in a 27", so I put off making the final width decision until I could afford the 27", which I eventually found at a pawn shop for $125. SOLD!


So this is what Jeffy's Arcade looked like after about 1 day of marking, cutting , and screwing--er, mating (no that's worse)-- ASSEMBLY!


Some little custom pieces
(MAMed Wireless mouse and Keyboard)


1st day of Assembly with the control panel--can you feel it?

In its first home.

A Chronicle of the Origins of Jeffy's Arcade.


In 2001 I discovered MAME, I played Gyruss and Pac Man from Evening to Morning. And It was Good. But I played on my computer keyboard and that sucked. UP, DOWN, RIGHT, LEFT. BORRRRRRRING!

In 2004 I decided to build my own arcade cabinet.
I asked my friend Gizz to help. And he was good. Really good.Stupendously good in fact. He was so incredibly, mind boggelingly, sensationally good that if I were to tell you how really, realy good he is, you would be very impressed with his goodness. Eh?

I visited many new friends along the way:
www.arcadecontrols.com
www.retroblast.com
www.mameworld.net

In fact I went there every day. And twice on Sunday.

In January 2004 I designed the control panel. And it was good.

In February I built the computer and it was passable, and it still runs, so there.


In March I bought a cheap TV with SVideo inputs for $125.00. And it was good.


In April I set up the test rig and Gizz and I build the Control Panel. And it Rocked!


In May I bought the MDF and it was heavy, very heavy.

We cut out the sides and used cleats to
hold the cabinet together. The Plans were LuSid's. I designed the Control Panel--mine, all mine. We then spent two months playing with wood.


And Behold, the fruit of our labor...